






Have you always wondered how to store your hats at home or on the road? We have the perfect hat wall display idea for you.
The lovely Geneva Vanderzeil has helped us out by showing us how to make our hats not only look stylish with your home decor but display your hats like a piece of art. Using two methods with hooks, perfect for anyone renting or a home owner to make your hats look cute even when you're not wearing them. Here are two ways you can store your hats to keep them looking nice but also have them as a feature in your space.
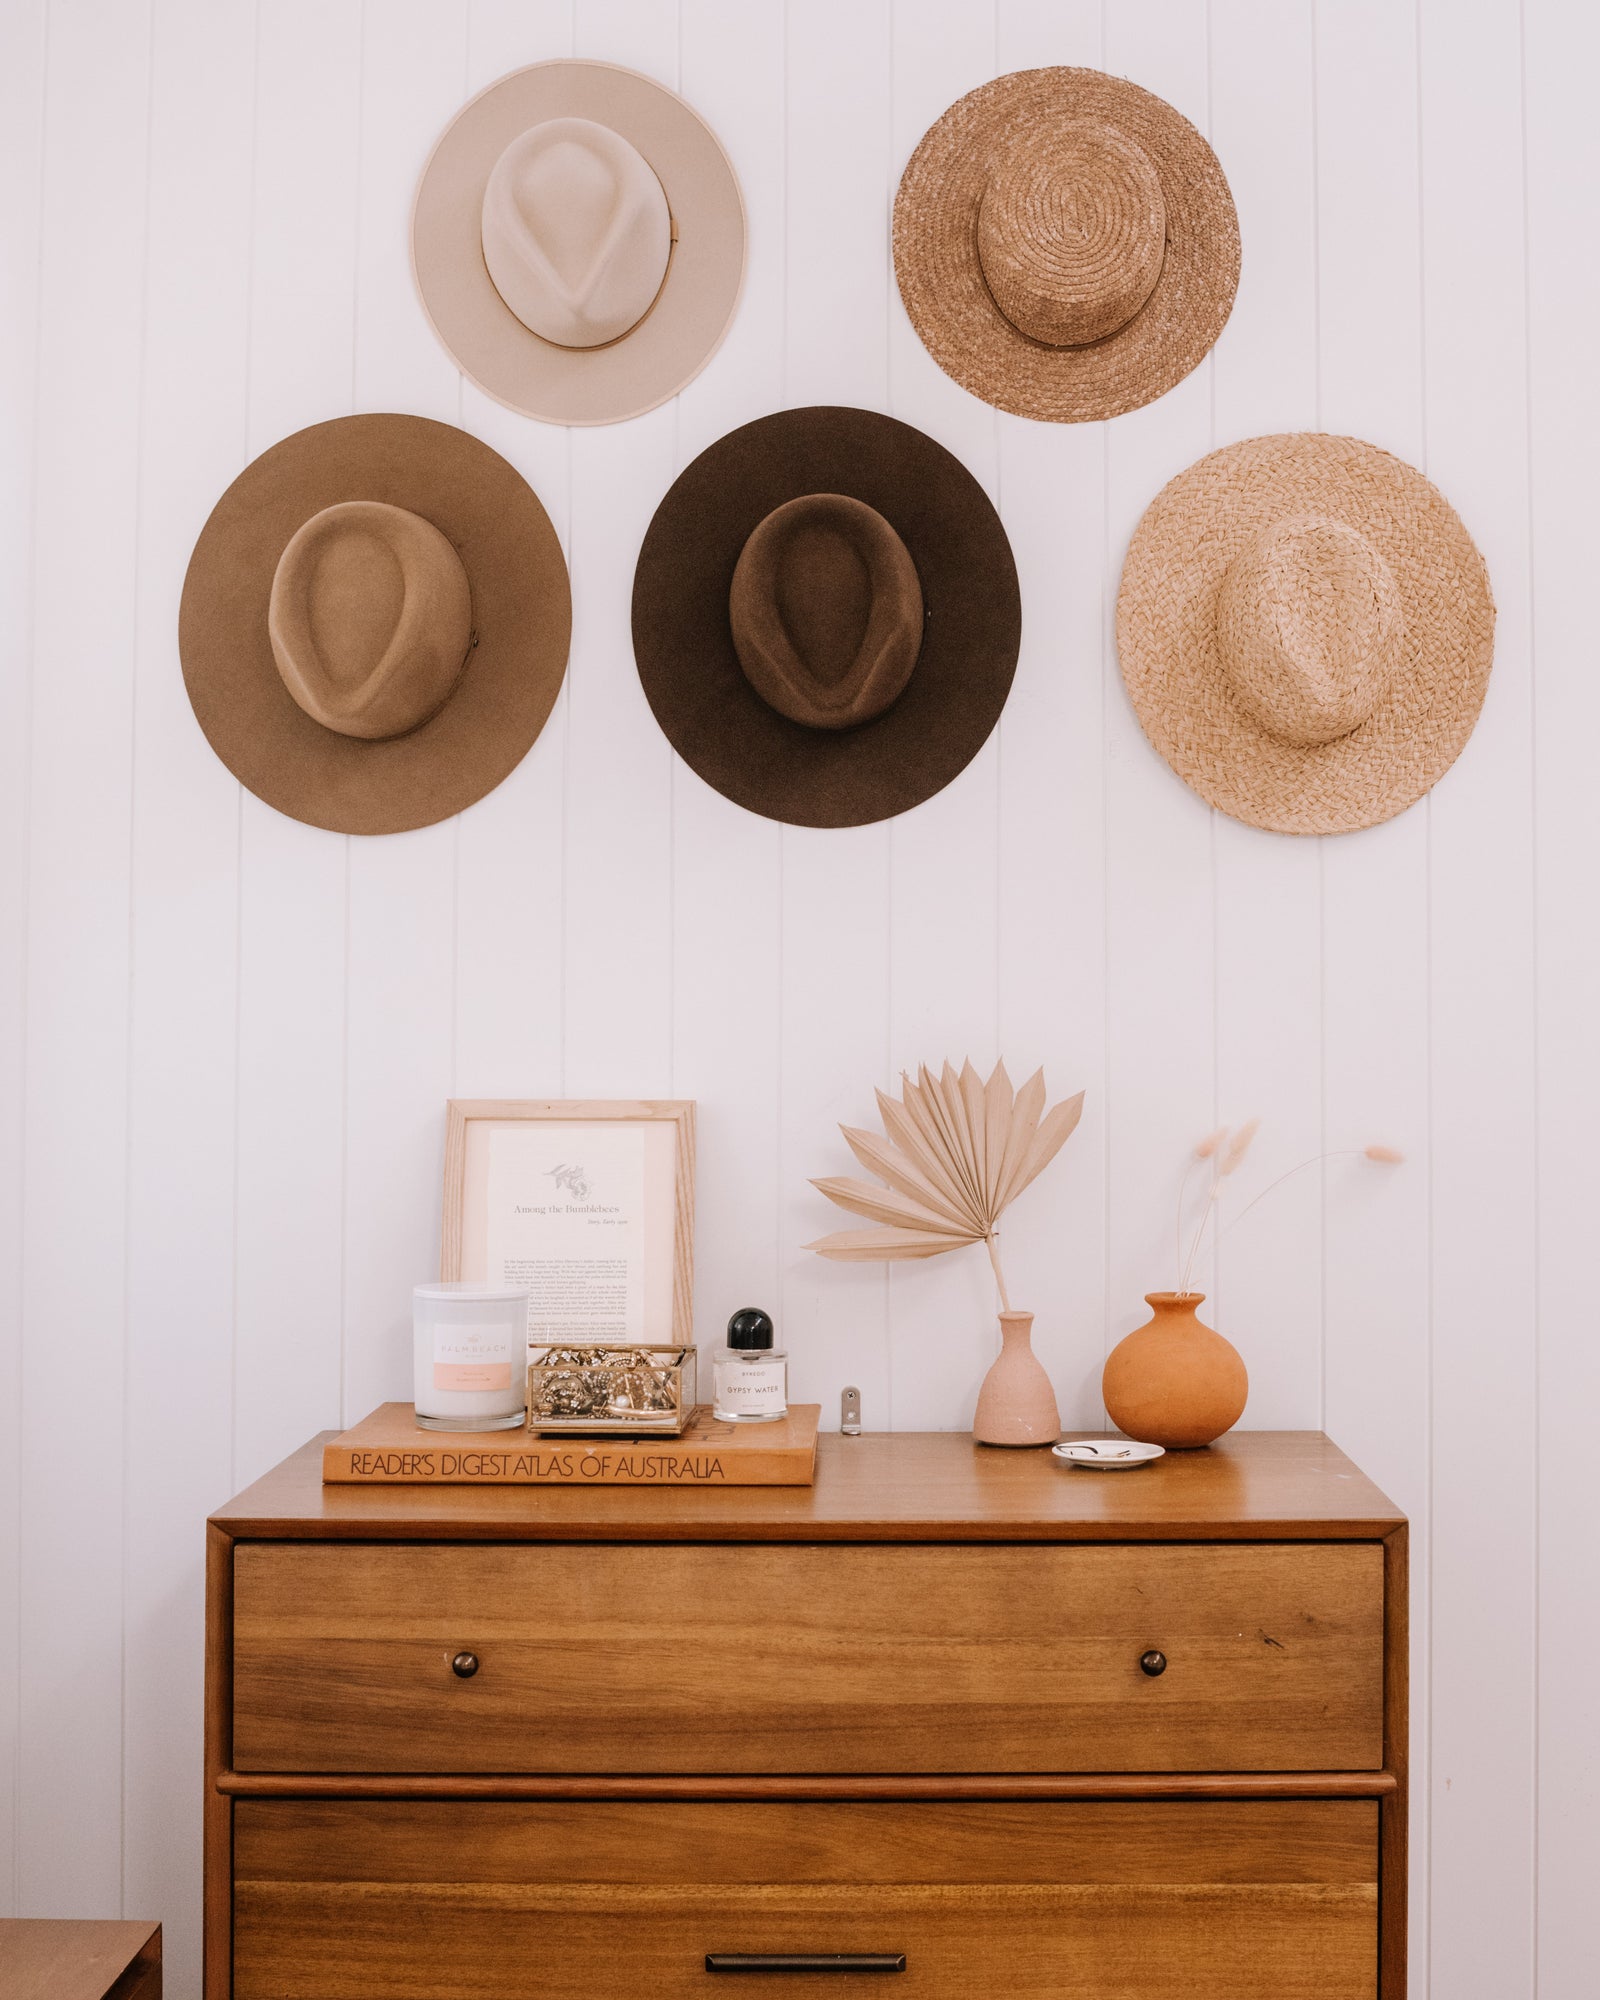
Method 1:
All you need are some wall hooks, or a hammer and some nails.
- The first thing you need to do is find a nice space on the wall and plan your layout.
- Next thing to do is to place your hooks on the wall.
- Once the hooks are on, you’re ready to hang your hats!
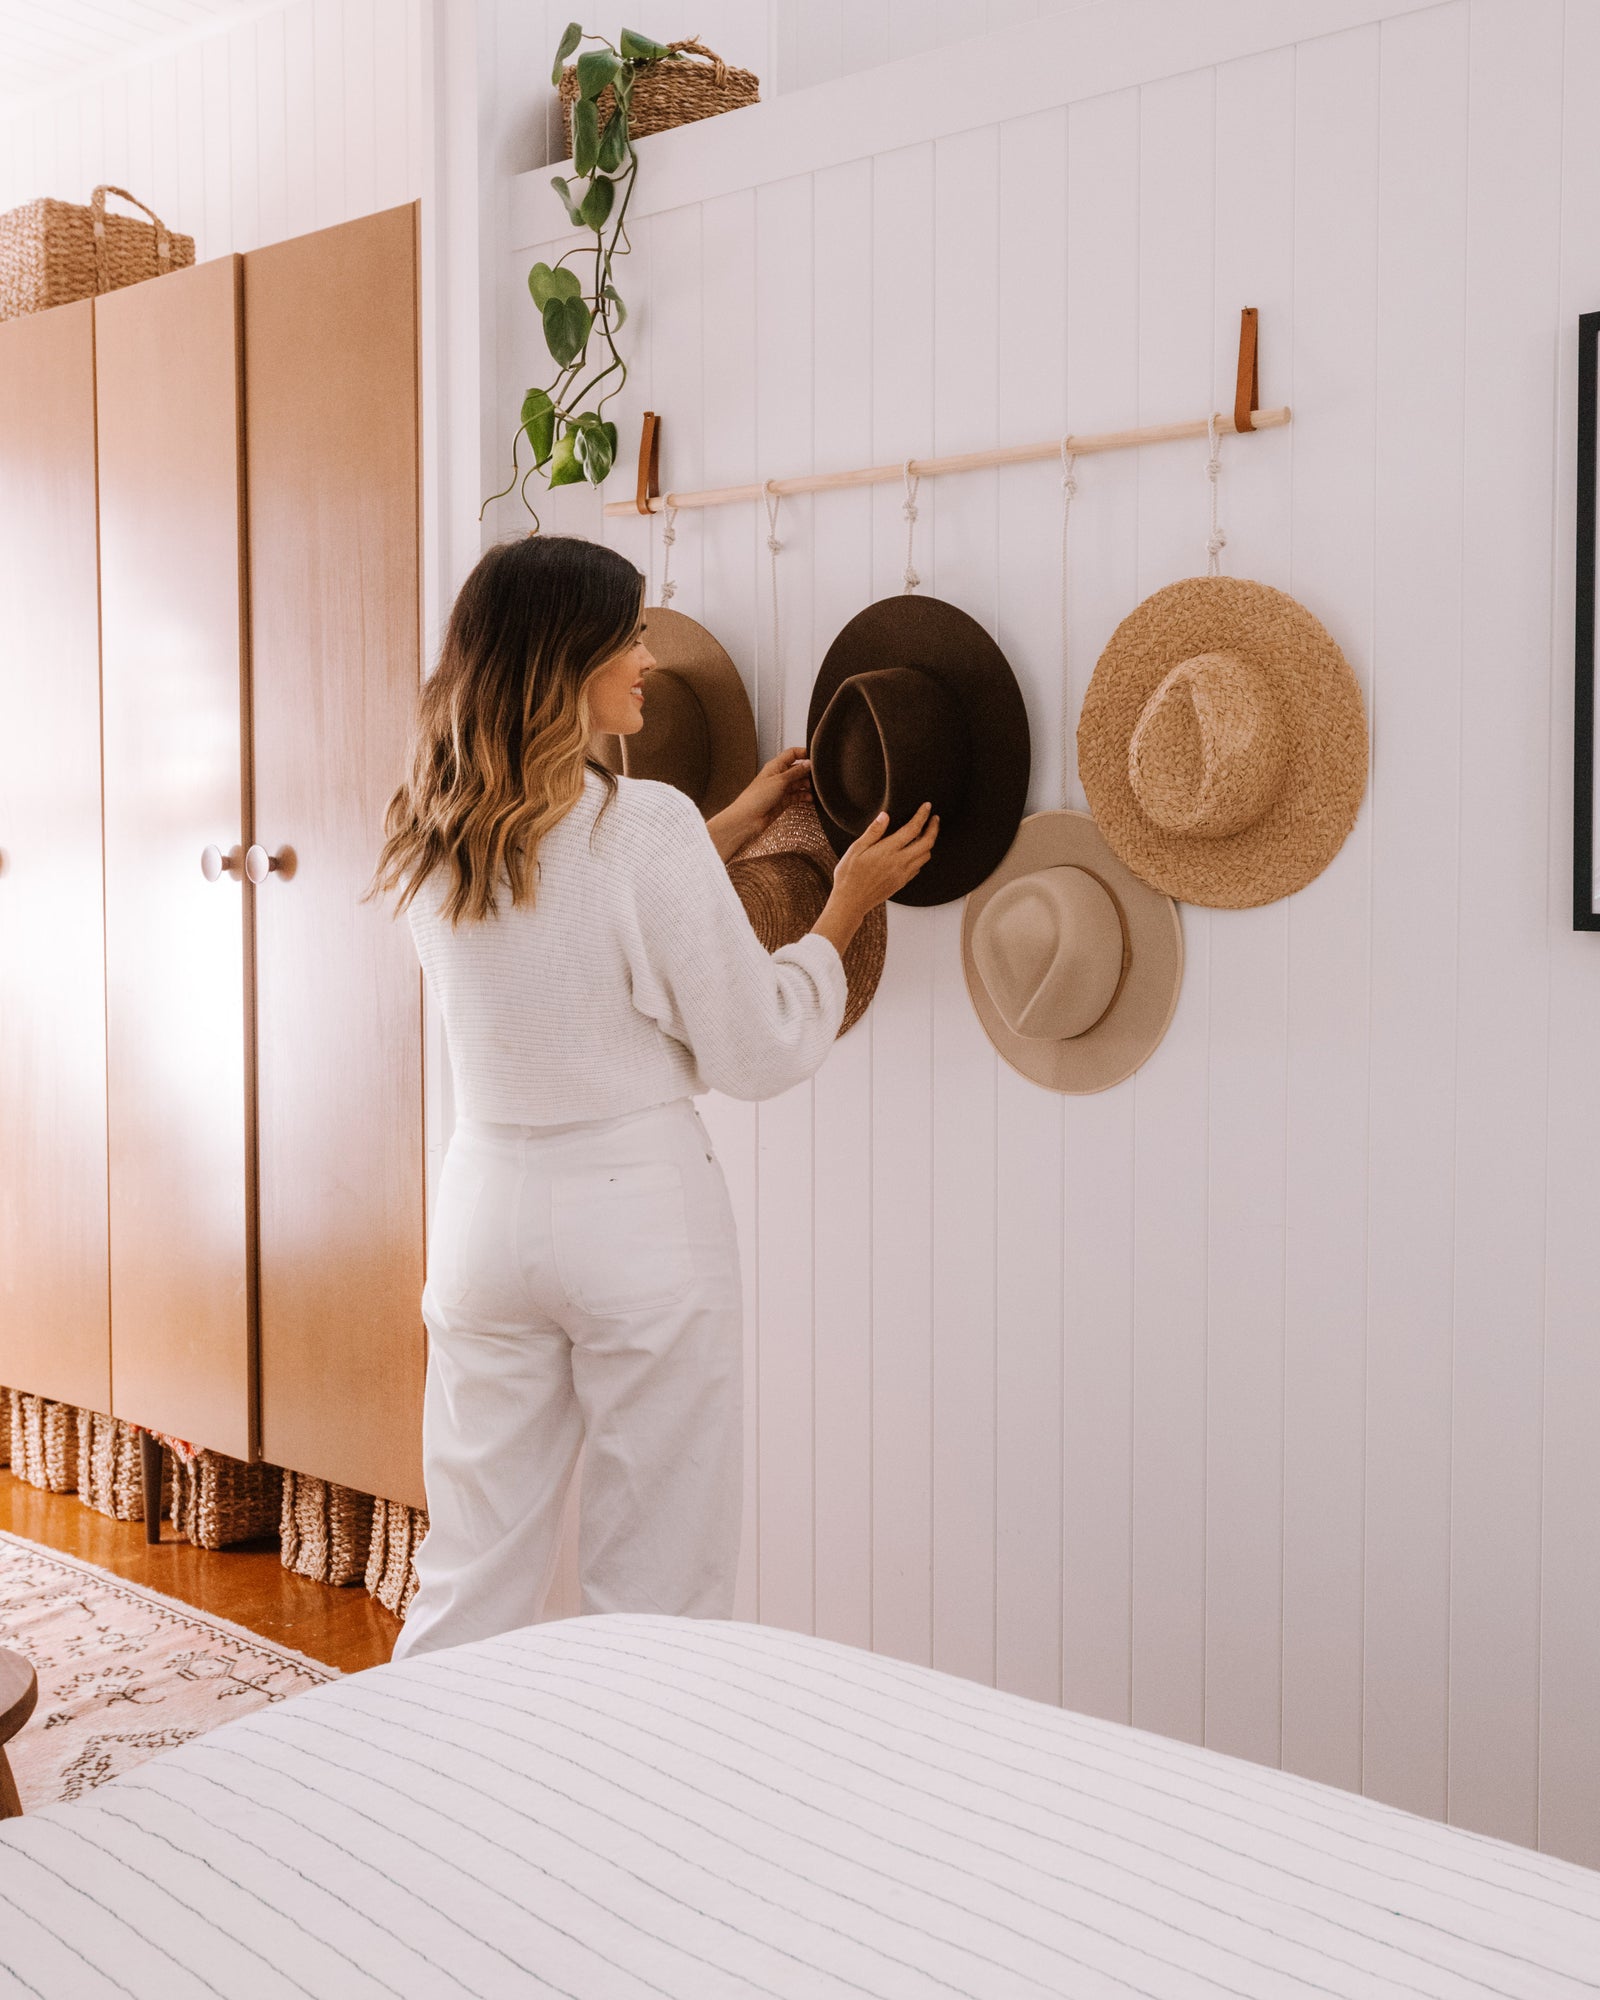
Method 2:
The second idea takes a little more work, but is great if you are a renter or maybe you’ve got more hats you’d like to store.
Things you’ll need:
- A dowel
- Rope
- Leather straps with holes in each end
- S hooks- Some nails for attaching it to the wall
- To start, measure how long you want the rope to hang down by placing the hat, S hook and rope below the dowel. Once you know how long you want each piece to be, tie a double knot in each end to form a loop. One will go over the dowel and the other will have the S hook in the end.
- Do a piece of rope for each hat you want to hang and stagger the rope lengths so the hats sit flat against the wall.
- Once you’ve done them all, slide them onto the dowel.
- Now it’s the big moment, it’s time to hang it up. First measure where you want your straps to sit, then hammer two nails into the wall.
- Slide the leather straps onto the nails and then insert the dowel. The final step is to add the S hooks onto the ends of the rope and you’re ready to hang your hats!
Still need a little extra help? Check out Geneva's how-to-video.
Geneva used Andy Auburn, Calloway Cream, Harvey Amber, Andy Oak and River Sand to create her hat wall.


